Stop Guessing! 7 Proven Ways on How to Test Water Hardness for Water Softener
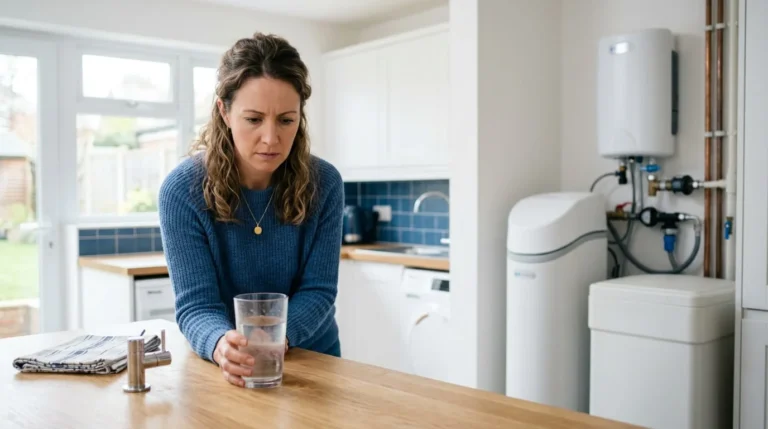
White limescale on your taps? A kettle that furs up within weeks? Soap that refuses to lather? These are classic signs of hard water, but learning how to test water hardness for water softener helps you measure its actual hardness accurately.
If you’re buying a water softener, replacing one, or changing its settings, you need a real number. Guess wrong and you could buy the wrong equipment or enter the wrong hardness value into your softener’s control head.
The good news: you don’t need an expensive professional to get started. This guide covers seven practical ways to test water hardness, how to read results in UK units, and how to avoid the mistakes that spoil most home tests.
Quick answer: To test water hardness for a water softener, check your local water supplier’s hardness data first, then confirm it with a home test kit. A drop-count titration kit gives a more precise number than colour-chart test strips. If readings conflict or you need greater accuracy, send a sample to a laboratory.

Key Takeaways
- Water hardness comes mainly from dissolved calcium and magnesium.
- Supplier data is a good estimate, but your own tap sample is more property-specific.
- Test strips are quick for screening; drop-count kits give more detailed results.
- A generic TDS meter does not measure hardness.
- Hardness can be shown as mg/L (CaCO₃), ppm, °dH, °fH, °Clark or mmol/L. Always check the unit.
- Test incoming and treated water separately to check an installed softener.
- Your reading helps you choose and set a softener, but household demand and the manufacturer’s instructions matter too.
Table of Contents
What Is Water Hardness and How to Test Water Hardness for Water Softener?
Water hardness is the concentration of dissolved calcium and magnesium in water. These minerals dissolve as rainwater passes through limestone, chalk and other rock, which is why hardness varies widely across UK regions and even between nearby properties.
Hard water is not automatically unsafe to drink. It is a water-quality characteristic that affects limescale, soap performance and appliance upkeep.
How does hard water affect your home?
Depending on hardness and how water is heated, you may notice:
- White deposits on taps and showerheads
- Limescale in kettles and hot-water equipment
- Mineral film on shower screens
- Soap that lathers poorly
- More frequent descaling and cleaning
- Scale build-up in susceptible appliances

These signs suggest hard water, but they can’t tell you whether your water measures 120, 200 or 350 mg/L as calcium carbonate. That difference matters when you choose or set a softener.
Why test instead of judging by appearance?
Two homes can show similar limescale yet have different measured hardness. Scale also depends on water temperature, pH and other characteristics. A proper test turns a guess into a known value.
Why Test Water Hardness Before Installing a Softener?
A water softener is not a one-size-fits-all purchase. Incoming hardness is a key factor, and testing first helps you:
- Choose the right softener. Very hard water may need a different capacity and regeneration pattern than moderately hard water. Hardness alone can’t pick the model: occupants, peak demand, installation space and manufacturer specifications matter too.
- Configure it correctly. Most salt-based ion-exchange softeners ask for a hardness setting. A wrong value can affect how the unit calculates capacity and when it regenerates. Follow your manual rather than guessing.
- Check performance. Testing incoming and treated water separately shows whether an existing unit is reducing hardness.
- Avoid unnecessary spending. You may find your water is softer than expected, or that you need more information before buying. A test doesn’t guarantee savings, but it shows whether treatment is appropriate.
How to Test Water Hardness: 7 Easy Methods
No single method suits everyone. Pick based on whether you want a rough estimate, a numerical reading, a professional analysis, or a way to check an installed softener.
| Method | Best for | Accuracy | Typical effort |
|---|---|---|---|
| 1. Supplier data | First estimate | General (area-based) | Very low |
| 2. Test strips | Quick home screening | Approximate | Low |
| 3. Drop-count titration kit | Numerical reading | Good | Medium |
| 4. Laboratory test | Formal or disputed results | Highest | Higher cost, slower |
| 5. Digital hardness tester | Less colour-matching | Depends on device | Low to medium |
| 6. Soap-lather test | Informal clue only | Not reliable | Very low |
| 7. Before-and-after test | Checking an installed softener | Good with the same kit | Medium |
Method 1: Check Your Local Water Supplier’s Hardness Information
Best for: a free first estimate before buying a kit or softener.
Many UK water suppliers publish hardness data by postcode, supply area or water-quality report.
- Identify your water supplier (it’s on your water bill).
- Visit its official website.
- Find the water-hardness checker or water-quality report.
- Enter your postcode if prompted.
- Record the hardness value and its unit.
- Check whether the figure covers your supply zone or a specific property.
Pros: free, fast, useful for understanding your general supply.
Limits: it isn’t a measurement of a sample from your tap. Values may describe a wider area or representative data.
Our take: treat it as a starting point, then test your own tap if you need a property-specific reading.
Method 2: Use Water Hardness Test Strips
Best for: beginners wanting a quick, convenient home test.
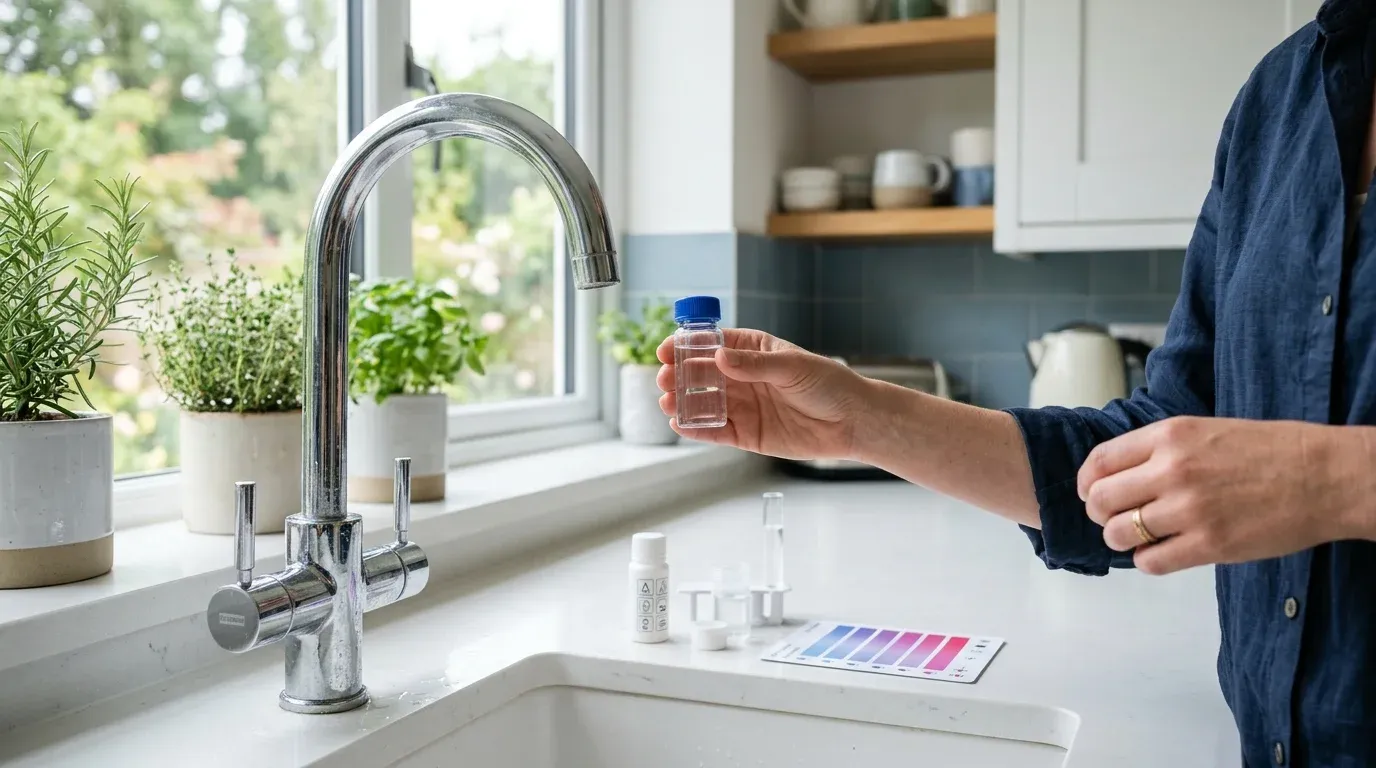
Test strips contain chemicals that change colour in water. You match the result to the chart supplied.

Are test strips accurate? They’re best for screening. Some show wide ranges instead of exact numbers, and lighting, expired strips, poor storage and wrong timing all affect results. If your strip’s range crosses a softener setting threshold, switch to a quantitative kit.
Pros: affordable, portable, easy. Limits: colour matching is subjective.
Tip: choose a total hardness kit with a stated measuring range and a valid expiry date.
Method 3: Use a Drop-Count (Titration) Test Kit
Best for: a more precise numerical reading at home.
A drop-count kit includes a sample vial and a reagent. You add the reagent drop by drop until the liquid changes colour. The number of drops tells you the hardness.
- Rinse the vial as directed.
- Measure the specified volume of fresh water.
- Add any starting reagent.
- Add the test reagent one drop at a time, swirling after each.
- Count drops until the endpoint colour appears.
- Apply the kit’s conversion rule to calculate hardness.
- Record the reading and unit.
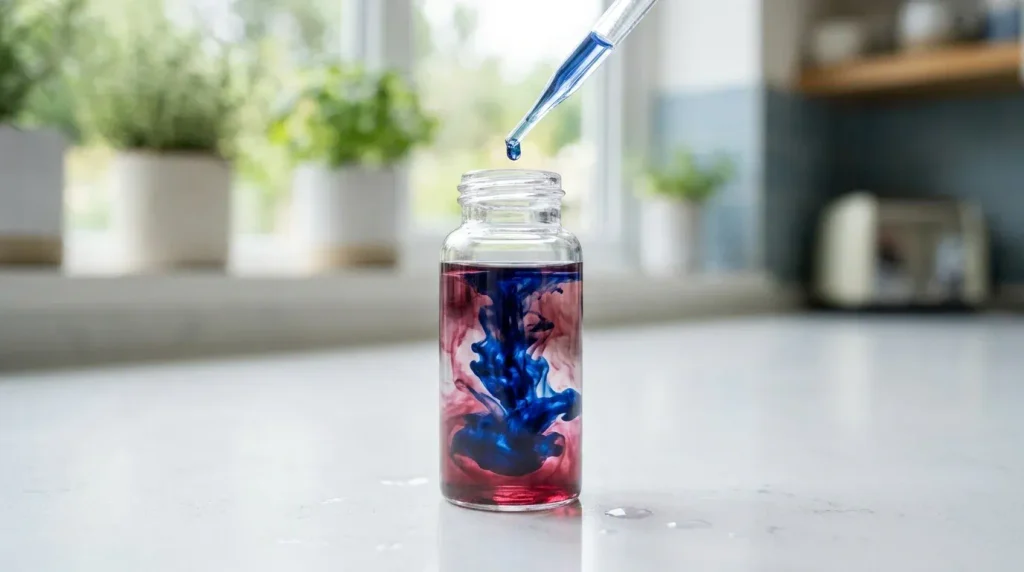
Each kit defines its own hardness-per-drop value, so never assume every kit uses the same mg/L per drop.
How does titration work? Titration estimates how much of a substance is in a sample by adding a measured reagent until a reaction reaches its endpoint. In hardness tests, the reagent reacts with calcium and magnesium.
Pros: more detail, less reliance on subtle shades, good for before-and-after comparison.
Limits: you must count drops carefully, results depend on the kit’s range, and you may need to convert units.
Our take: if you need a number to set a softener, a suitable drop-count kit is often the most practical home choice.
Method 4: Send a Water Sample to a Laboratory
Best for: formal, detailed or disputed results.
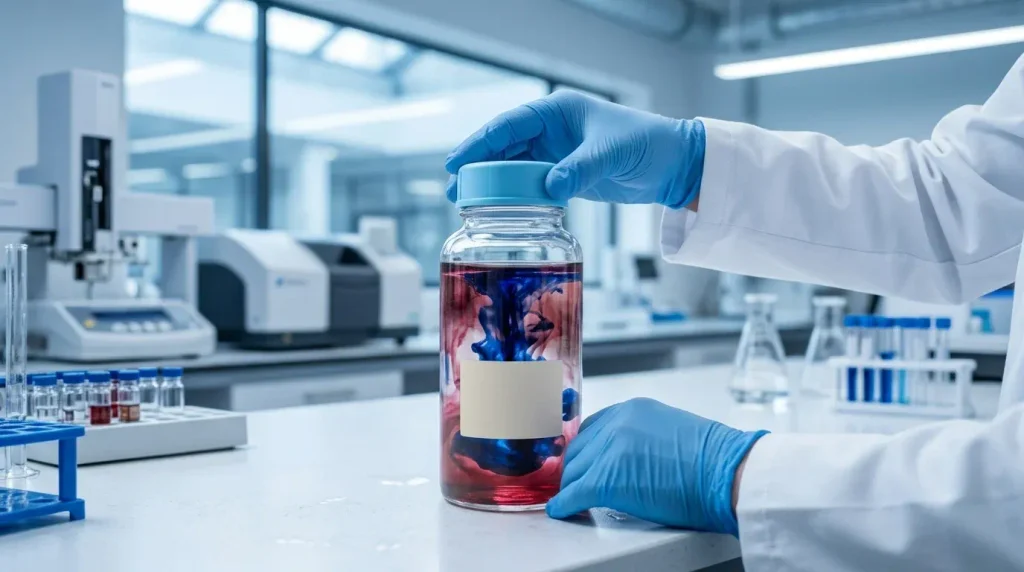
Laboratories use standard analytical techniques. This helps if home results disagree, if hardness affects a major equipment decision, or if you want other water-quality parameters checked.
- Find a lab offering domestic water-hardness analysis.
- Confirm which parameters are included.
- Request sampling instructions and the correct container.
- Collect the sample exactly as instructed.
- Label and send or deliver it as specified.
- Review the report’s units, method and any stated uncertainty.
Don’t assume every package includes a full drinking-water analysis. Some measure hardness only; others charge extra for more parameters.
Pros: formal results, optional extras. Limits: costs more and takes longer.
Method 5: Use a Digital Tester Designed for Hardness
Best for: people who prefer a digital readout over colour matching.
Electronic devices vary, so check exactly what each measures. A device built for calcium or total hardness is not interchangeable with a general-purpose water meter.
Why a TDS meter is not a hardness tester
A total dissolved solids (TDS) meter estimates dissolved-ion content from electrical conductivity. It does not directly measure calcium and magnesium. Many dissolved minerals raise conductivity without adding hardness, so no single formula can reliably convert TDS to hardness. A TDS reading of 250 ppm does not mean your hardness is 250 ppm.

Before buying a digital tester, check:
- Does it measure total hardness or something else?
- What are its range and resolution?
- What accuracy and calibration does it need?
- Does it use reagents or another method?
- Does its output unit match your softener’s requirement?
Our take: choose a device with clearly documented hardness capability. Don’t pay extra for a screen if it only measures TDS or conductivity.
Method 6: Try a Simple Soap-Lather Test (Screening Only)
Best for: a quick, informal clue when you have no kit.
Calcium and magnesium react with soap, so hard water lathers poorly. A side-by-side comparison can hint at hardness, but it can’t give a number.
- Put equal volumes of tap water in two clean, similar containers.
- If possible, use a comparison sample of known hardness.
- Add the same type and amount of soap to each.
- Shake both the same way.
- Compare lather and residue.
Soaps, detergents, temperature and water composition all change the result. Some detergents foam even in hard water, so foam volume is not a valid hardness measurement.
Our take: treat it as a clue, not proof. Confirm with a proper test before choosing or setting a softener.
Method 7: Test Both Incoming and Softened Water
Best for: homeowners with an installed softener who want to check performance.
If you have a salt-based ion-exchange softener, comparing water before and after the unit shows whether hardness is being reduced.
- Identify a suitable sampling point before the softener.
- Identify a suitable sampling point after it.
- Follow your test kit’s sampling instructions.
- Test both samples with the same kit and method.
- Record and compare the results.
- Repeat if a result looks unexpected.
Use the same reagent batch and sample volume for both samples if you can.
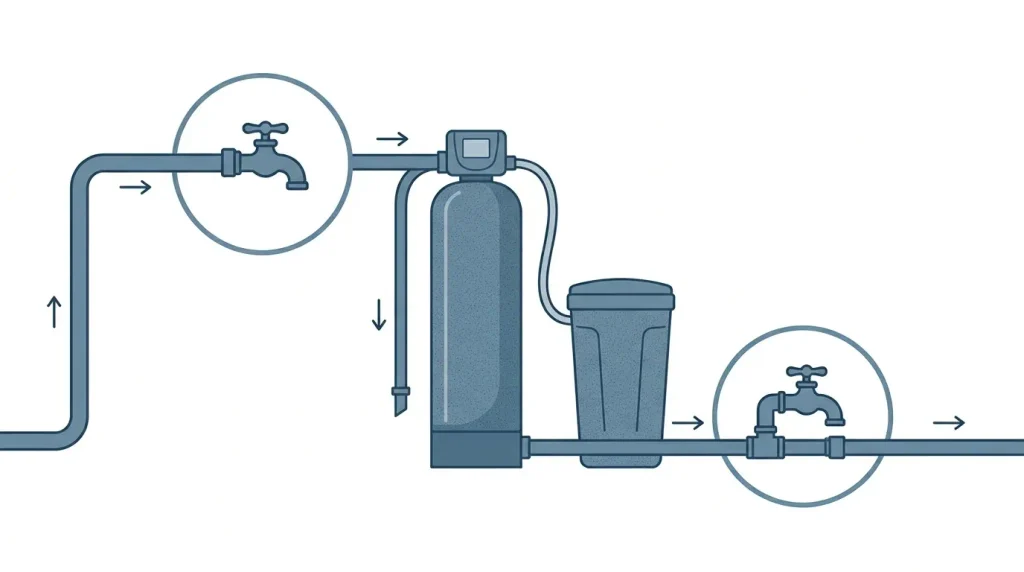
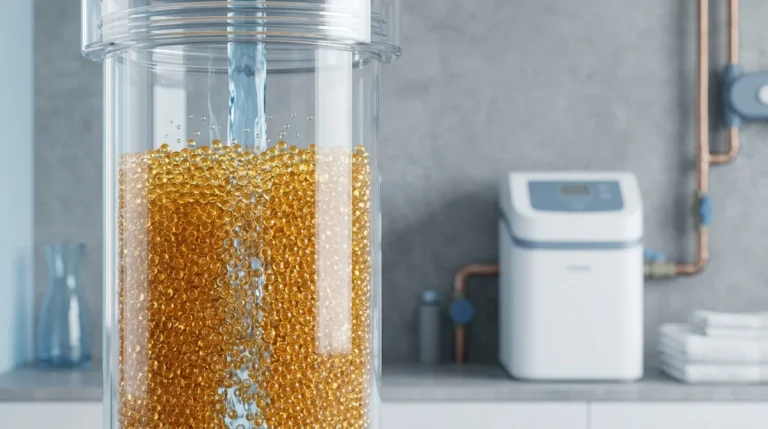
What should you expect? A properly working conventional ion-exchange softener should substantially reduce calcium and magnesium hardness under its intended operating conditions.
If treated water still shows hardness, possible causes include reduced capacity, wrong settings, a regeneration issue, a bypass left open, a valve fault or a sampling error. One measurement can’t tell you which. Check the manufacturer’s troubleshooting guide, confirm you sampled the right outlet, and call a qualified service technician if the problem persists.
Note: not every filter or scale-reduction device is a water softener. Many treatment technologies work without removing hardness minerals.
How to Collect the Right Water Sample
Even the best kit gives poor results with a poor sample. Always follow your kit’s or laboratory’s instructions first.
- Use a clean container. Residue from cleaning products, drinks or earlier samples can interfere. Avoid containers that held chemicals unless prepared as instructed.
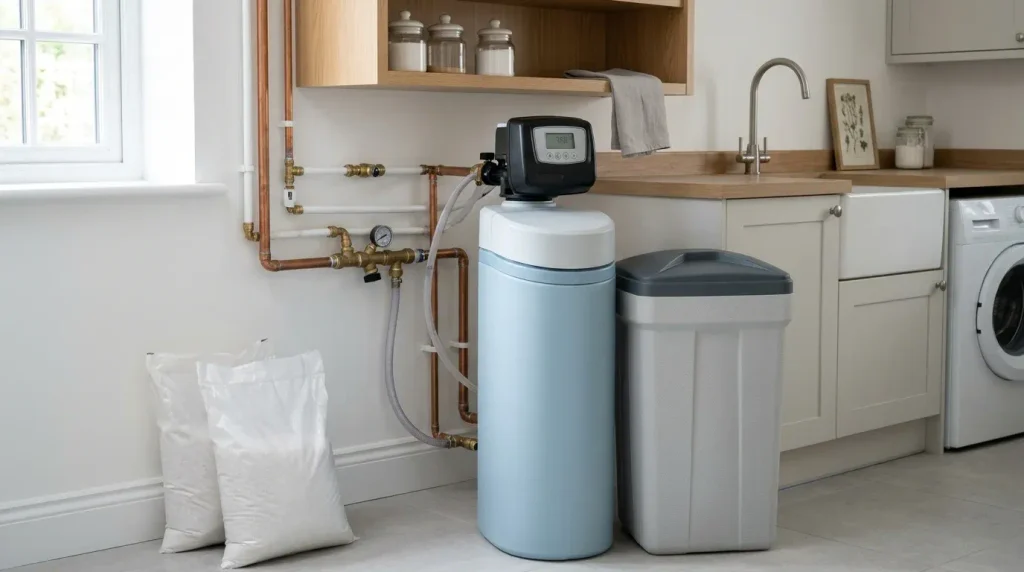
- Choose the correct tap. For incoming hardness, sample before the softener. For treated water, use a tap fed by the softened line. Many UK homes keep an unsoftened kitchen tap for drinking, so taps can differ.
- Follow the flushing instructions. Some procedures say to run the tap first; others differ. Use the instructions for your test.
- Record the details: date and time, sample location, untreated or softened, kit or method, result and unit, and any unusual conditions such as a recent regeneration.
Understanding Water Hardness Units in the UK
Different suppliers, kits and softener manuals use different units, so check before comparing numbers.

| Unit | Meaning | Approx. equivalent in mg/L as CaCO₃ |
|---|---|---|
| mg/L as CaCO₃ | Milligrams per litre, as calcium carbonate | 1 |
| ppm as CaCO₃ | Parts per million (≈ mg/L in dilute water) | 1 |
| °dH | German degrees | 17.8 |
| °fH | French degrees | 10 |
| °Clark (°e) | English degrees, still seen in UK literature | 14.3 |
| mmol/L | Millimoles per litre | 100 |
These are approximate conversions, suitable for most domestic reports. Always follow the unit definition supplied with your kit or water report.
Example: a result of 250 mg/L as CaCO₃ is about 14 °dH (250 ÷ 17.8), about 25 °fH, or about 17.5 °Clark.
Is there one universal hard-water threshold?
No. Classifications vary by organisation. A commonly used general guide treats water below about 60 mg/L as CaCO₃ as soft and above about 180 mg/L as very hard, with categories in between. Some UK suppliers use their own bands, so check how yours describes its data. These labels are guidelines, not engineering rules. Your softener setting should come from the measured value and the manufacturer’s manual, not from the word “hard” or “very hard”.
How to Find Your Water Hardness Without Testing
- Option A: Check your supplier. Use the official hardness checker or water-quality report and note the value and unit.
- Option B: Ask for clarification. If the figure is a broad range or unclear, contact the supplier and ask whether it’s a typical value, an area range or a specific supply zone.
- Option C: Test your own tap. A home test measures the sample you actually collect. This matters for private supplies, unusual plumbing, or when you need a precise reading for equipment decisions.
Best approach: start with supplier information, confirm with a suitable home test, and use a laboratory if the reading is critical and results conflict.
How to Interpret Your Results for a Water Softener
- Confirm the unit. Don’t enter a number into a softener until you know the unit matches what the manufacturer requires.
- Confirm the sample source. A reading from an unsoftened tap shows incoming water; one from a softened tap shows treated water. Never mix them up.
- Compare with the equipment instructions. Hardness is one factor alongside capacity, flow rate, water usage, regeneration settings and installation.
- Investigate surprises. If your result differs sharply from supplier data, repeat the test with a fresh sample and check the procedure and units. If two home tests disagree, check each kit’s range and instructions before deciding which to trust.
- Keep a record. Save results with dates, plus any adjustments or servicing. It helps you compare over time and gives technicians useful evidence.
How to Set a Water Softener Using Your Hardness Reading
Some softeners ask you to enter incoming hardness; others use extra information or installer-adjusted settings.
- Hardness setting: the hardness value your controller uses, in the unit the manufacturer specifies.
- Capacity: how much hardness the system can treat before it needs to regenerate. It depends on resin quantity, operating conditions and regeneration settings.
The correct hardness value helps the controller estimate how fast it uses capacity, but the right capacity for your home also depends on water consumption and system design.
Before adjusting the unit:
- Confirm incoming water hardness.
- Check the required unit and setting procedure.
- Review the model’s programming instructions.
- Verify any other required settings.
- Test treated water once the unit has run under normal conditions.
Don’t copy a setting from a neighbour or forum without checking that the model, units and water conditions match.
7 Common Mistakes When Testing Water Hardness
- Treating limescale as a measurement. Visible scale shows hard water exists, not how hard it is.
- Using TDS as hardness. They are different measurements; never apply a made-up multiplier.
- Ignoring the unit. A reading of 15 means very different things in °dH, °fH or °Clark.
- Using expired or badly stored strips. Follow storage rules and replace out-of-date supplies.
- Ignoring timing. Colour tests and titrations have set times or endpoints. Follow the kit.
- Testing the wrong tap. Know which taps are connected to the softener.
- Changing settings without checking the manual. A wrong unit or setting can lead to an incorrect setup.
How to Check Whether Your Water Softener Is Working
Test water before and after treatment using the same suitable hardness test. A working ion-exchange softener should substantially reduce hardness, though you should read results in light of the kit’s resolution and the manufacturer’s specifications.
If treated water is harder than expected:
- Confirm the sample came from the softened line.
- Repeat with fresh water and a correctly prepared kit.
- Check whether the unit has just regenerated or is due to.
- Review the salt level and operating instructions.
- Check the bypass valve position, if it’s safe to do so.
- Book professional servicing if the problem persists.
More salt won’t fix every fault. Control valve, brine system or setting problems need other solutions. Also, existing scale in kettles and pipes won’t vanish the moment softening starts. It stays until cleaned or gradually removed.
Myths vs Facts About Water Hardness Testing
| Myth | Fact |
|---|---|
| Limescale in my kettle means very hard water. | Scale shows minerals were deposited, but the amount can’t tell you the hardness level. |
| A TDS meter tells me exact hardness. | It estimates dissolved ions from conductivity and doesn’t measure calcium and magnesium directly. |
| My supplier’s figure is exactly what’s at my tap. | Supplier data may describe a supply area or representative conditions. |
| One result tells me which softener to buy. | Usage, flow rate, installation limits and product specs matter just as much. |
| If softened water tastes different, the test is wrong. | Taste isn’t a reliable hardness measure. Investigate taste or quality concerns separately. |
Best Practices for Reliable Testing
- Use a kit made for water hardness.
- Read the instructions before sampling.
- Confirm the kit’s range and units.
- Use clean sampling equipment.
- Check expiry dates and storage.
- Record date, tap and result.
- Repeat surprising results with a fresh sample.
- Use the same method and units when comparing.
- Keep incoming and treated readings separate.
- Read the softener manual before entering settings.
- If results stay inconsistent, consider a professional testing service.
Frequently Asked Questions
What is the simplest way to test water hardness for a water softener?
Test strips are usually the easiest home method and give a quick indication, though precision depends on the kit. For a more detailed number, use a drop-count titration kit.
Can I test water hardness at home without a professional?
Yes. Test strips and drop-count kits are suitable. Follow each step, verify the unit and retest if the result surprises you. For greater certainty, use professional testing.
Are test strips accurate enough for a softener?
They’re accurate enough for an initial estimate, depending on the kit’s range. If the result is a wide range or sits close to a setting threshold, use a more precise method.
How do I know if my water is hard in the UK?
Check your water supplier’s official hardness data, then measure with a test kit if you’re unsure. Hardness can vary between homes in the same area, so don’t assume a neighbour’s result is yours.
What’s the difference between TDS and water hardness?
TDS meters estimate total dissolved solids from electrical conductivity. Hardness is mainly the calcium and magnesium content. A standard TDS meter can’t accurately measure hardness.
What unit should I use for water hardness?
Use whichever unit your softener manufacturer specifies, such as mg/L as CaCO₃, ppm, °dH, °fH or °Clark. Convert only when you’re sure of the correct conversion.
Should I test water before or after installing a softener?
Test incoming water before choosing or setting up a system. If one is already installed, test both incoming and treated water to assess performance.
How often should I test water hardness?
There’s no single rule. Test before buying or setting up a softener, after significant changes or servicing, and whenever you suspect a problem. Follow the manufacturer’s suggested frequency.
Can boiling water tell me its hardness?
No. Boiling may leave some temporary hardness behind as scale, but it doesn’t remove all hardness types, so it’s not a reliable measurement. Use a proper hardness test.
Can a water softener remove all hardness?
Conventional ion-exchange softeners lower calcium and magnesium hardness when run within the manufacturer’s parameters. Results depend on the system, incoming water and maintenance, so refer to the specifications and test data.
Why is my softened water still showing hardness?
Common causes are incorrect sampling, an open bypass, insufficient capacity, regeneration problems, wrong settings or a fault. Repeat the test, check your manual and contact a service technician if needed.
Is a hardness test the same as a drinking-water safety test?
No. A hardness test measures one characteristic and doesn’t confirm that water is safe in every respect. For drinking-water quality concerns, arrange testing for the specific parameters involved.
Conclusion: Test First, Choose Your Softener With Confidence
Testing takes the guesswork out of choosing and setting a water softener. Whether your number comes from your supplier, test strips, a drop-count kit or a laboratory, it helps you decide with confidence.
For most UK homeowners, the best route is simple: get your supplier’s data, confirm it with a suitable home hardness test, then follow the softener manufacturer’s guidance for selection or settings.
Remember: the unit matters as much as the number. Don’t mistake TDS for hardness, don’t read limescale as a measurement, and don’t enter a setting without checking the manual.
At AquaClariX, we help you understand your water and compare treatment options with confidence.
Have you tested your water hardness yet? Share your method and the unit shown on your result in the comments. Your experience could help other UK homeowners know where to start.
Sources:
1:https://www.amazon.co.uk/s?k=water+hardness+test+strips&utm_source
2:https://www.amazon.co.uk/s?k=water+hardness+drop+test+kit&utm_source